튜토리얼: Language Model API를 사용하여 AI 기반 코드 주석 생성
이 튜토리얼에서는 AI 기반 코드 튜터를 구축하기 위한 VS Code 확장을 만드는 방법을 배웁니다. Language Model(LM) API를 사용하여 코드 개선을 위한 제안을 생성하고 VS Code 확장 API를 활용하여 사용자가 자세한 정보를 위해 호버할 수 있는 인라인 주석으로 편집기에 원활하게 통합합니다. 이 튜토리얼을 완료하면 VS Code에서 사용자 지정 AI 기능을 구현하는 방법을 알게 됩니다.

전제 조건
이 튜토리얼을 완료하려면 다음 도구와 계정이 필요합니다.
확장 프로그램 스캐폴딩
먼저 Yeoman과 VS Code 확장 생성기를 사용하여 개발 준비가 된 TypeScript 또는 JavaScript 프로젝트를 스캐폴딩합니다.
npx --package yo --package generator-code -- yo code
새 확장 프로그램 마법사를 완료하려면 다음 옵션을 선택하십시오...
# ? What type of extension do you want to create? New Extension (TypeScript)
# ? What's the name of your extension? Code Tutor

### Press <Enter> to choose default for all options below ###

# ? What's the identifier of your extension? code-tutor
# ? What's the description of your extension? LEAVE BLANK
# ? Initialize a git repository? Yes
# ? Bundle the source code with webpack? No
# ? Which package manager to use? npm

# ? Do you want to open the new folder with Visual Studio Code? Open with `code`
올바른 명령을 포함하도록 package.json 파일 수정
스캐폴딩된 프로젝트에는 package.json 파일에 단일 "helloWorld" 명령이 포함되어 있습니다. 이 명령은 확장이 설치될 때 명령 팔레트에 표시되는 것입니다.
"contributes": {
  "commands": [
      {
      "command": "code-tutor.helloWorld",
      "title": "Hello World"
      }
  ]
}
코드 튜터 확장 프로그램을 만들어 줄에 주석을 추가하므로 사용자가 이러한 주석을 켜고 끌 수 있는 명령이 필요합니다. command 및 title 속성을 업데이트합니다.
"contributes": {
  "commands": [
      {
      "command": "code-tutor.annotate",
      "title": "Toggle Tutor Annotations"
      }
  ]
}
package.json은 확장을 위한 명령과 UI 요소를 정의하지만, src/extension.ts 파일은 해당 명령에 대해 실행되어야 하는 코드를 배치하는 곳입니다.
src/extension.ts 파일을 열고 package.json 파일의 command 속성과 일치하도록 registerCommand 메서드를 변경합니다.
const disposable = vscode.commands.registerCommand('code-tutor.annotate', () => {
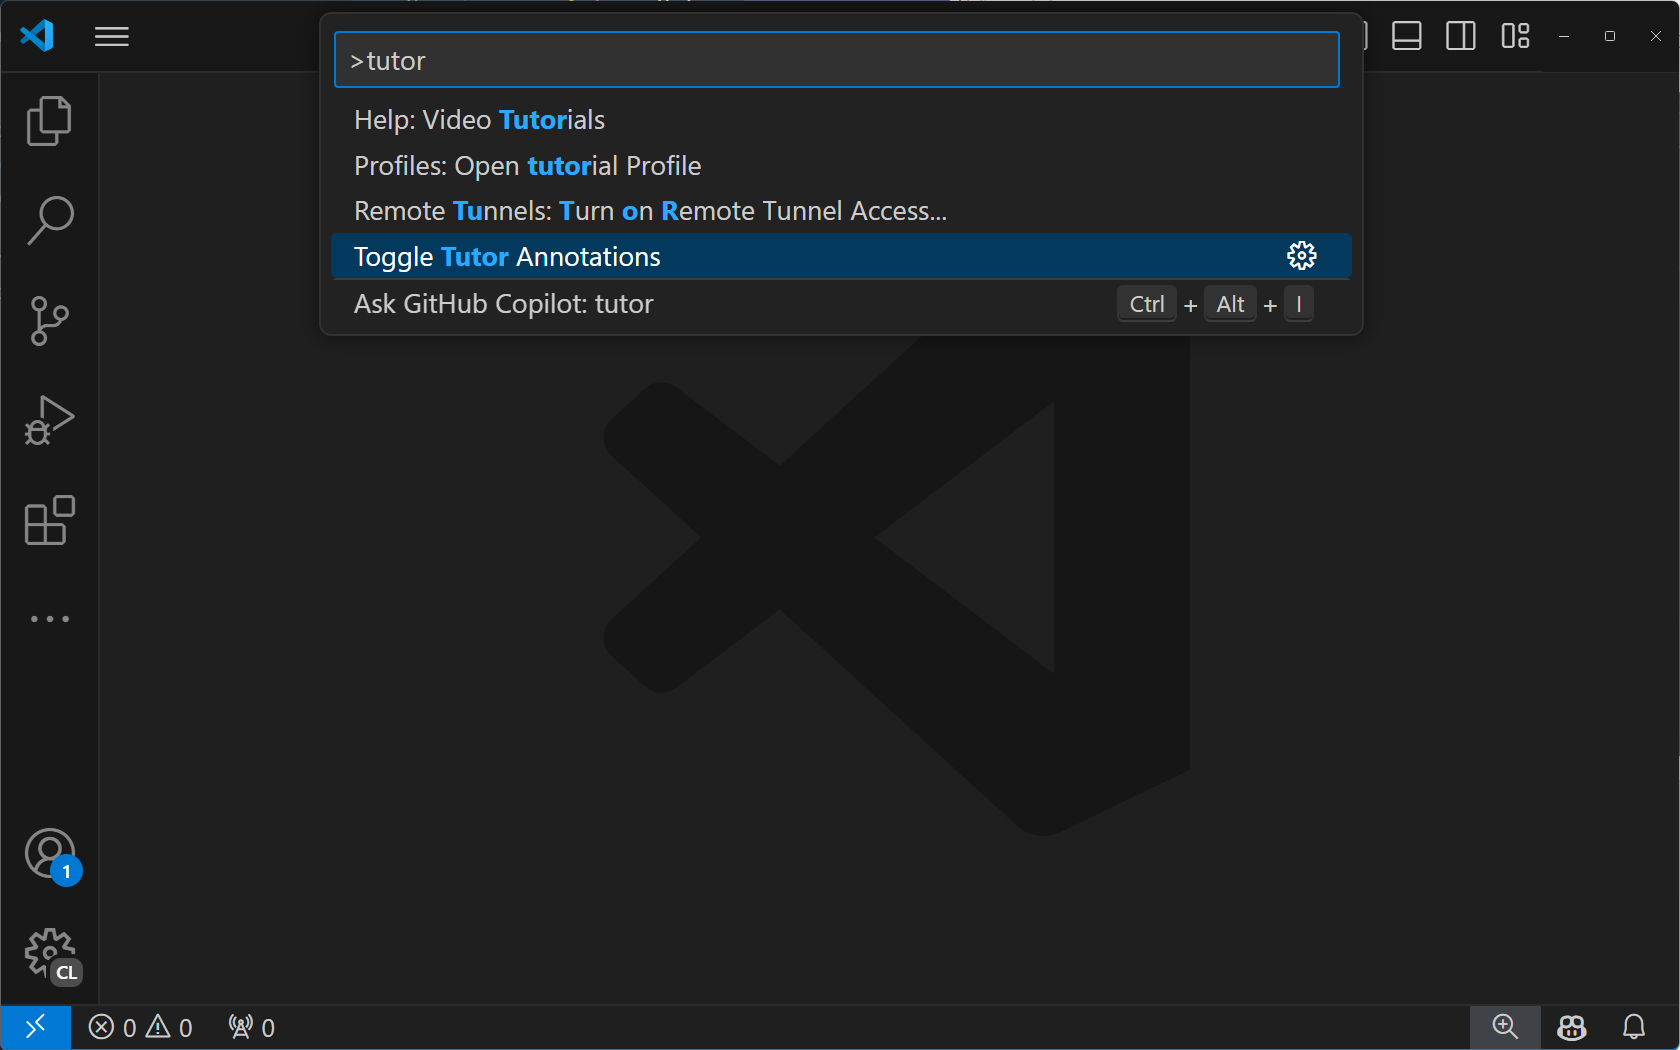
F5 키를 눌러 확장을 실행합니다. 이렇게 하면 확장이 설치된 새 VS Code 인스턴스가 열립니다. F5 키를 눌러 명령 팔레트를 열고 "tutor"를 검색합니다. "Tutor Annotations" 명령이 표시되어야 합니다.
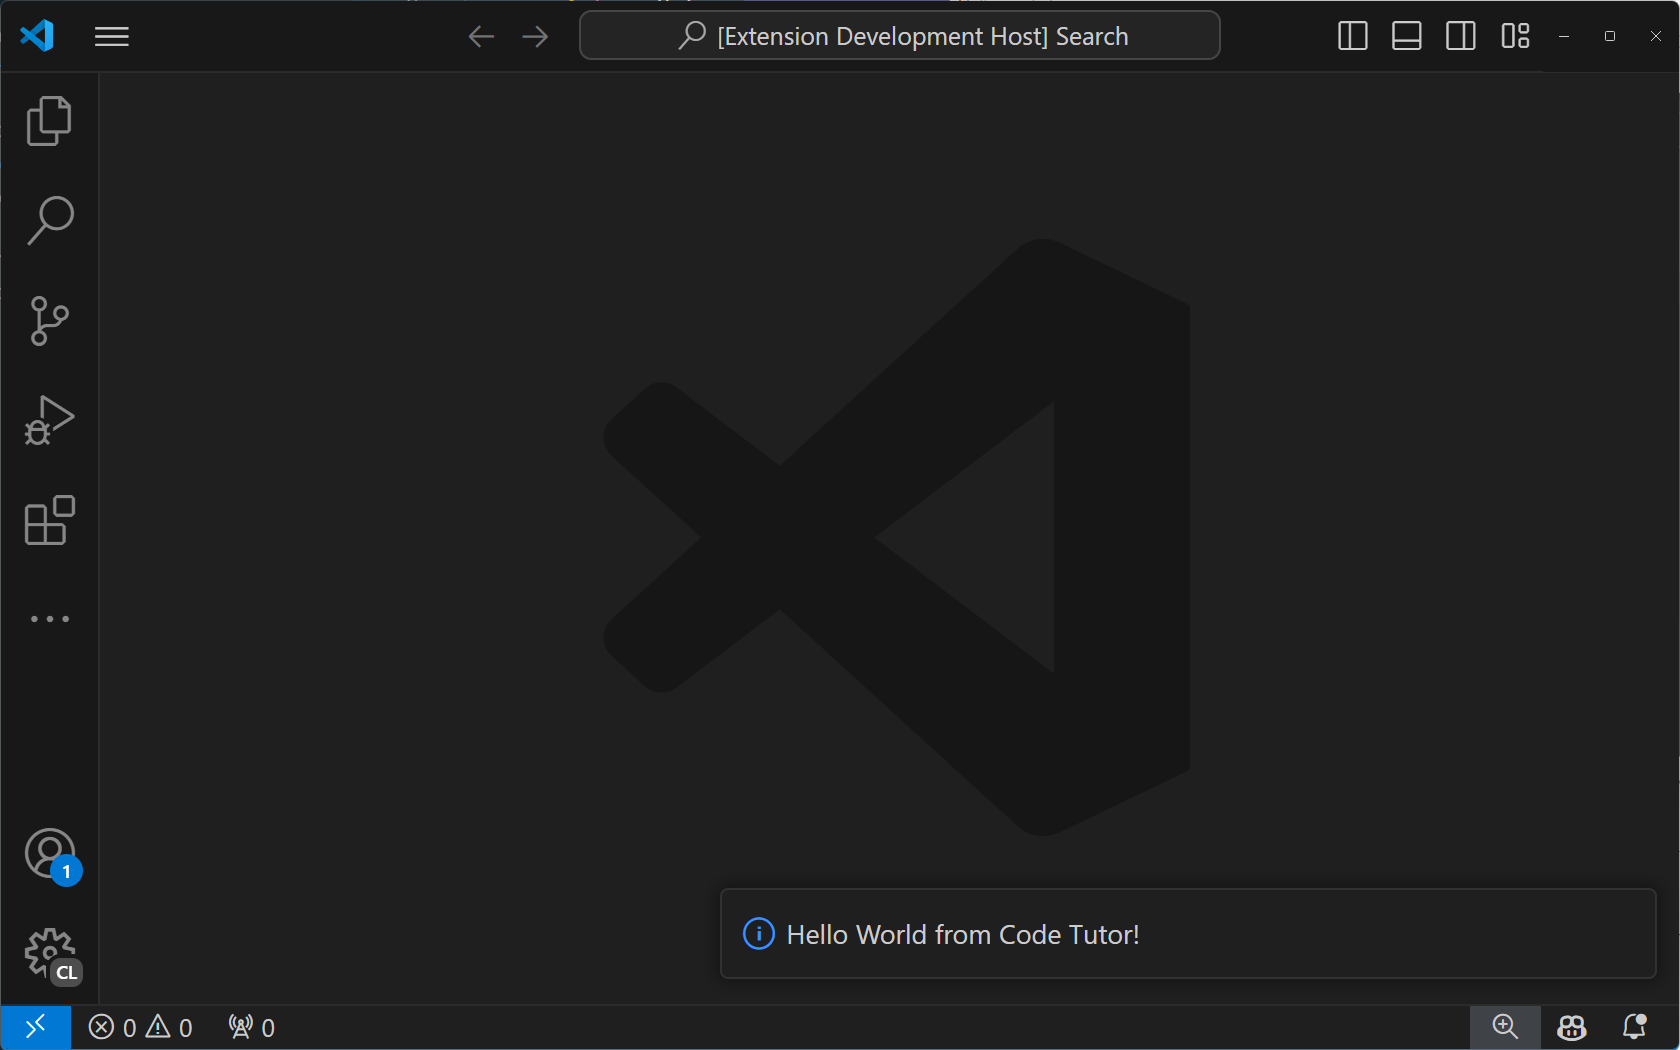
"Tutor Annotations" 명령을 선택하면 "Hello World" 알림 메시지가 표시됩니다.
"annotate" 명령 구현
코드 튜터 주석을 작동시키려면 일부 코드를 보내 주석을 제공하도록 요청해야 합니다. 이 작업은 세 단계로 수행됩니다.
- 현재 열려 있는 탭의 코드에 줄 번호 포함
- 해당 코드를 Language Model API에 사용자 지정 프롬프트와 함께 보내 주석을 제공하는 방법에 대한 지침을 제공합니다.
- 주석을 구문 분석하고 편집기에 표시
1단계: 줄 번호가 있는 코드 가져오기
현재 탭의 코드를 가져오려면 사용자가 열어 둔 탭에 대한 참조가 필요합니다. registerCommand 메서드를 registerTextEditorCommand로 수정하여 이를 얻을 수 있습니다. 이 두 명령의 차이점은 후자가 사용자에게 열려 있는 탭에 대한 참조인 TextEditor를 제공한다는 것입니다.
const disposable = vscode.commands.registerTextEditorCommand('code-tutor.annotate', async (textEditor: vscode.TextEditor) => {
이제 textEditor 참조를 사용하여 "보기 가능한 편집기 공간"의 모든 코드를 가져올 수 있습니다. 이것은 화면에 보이는 코드입니다. 위 또는 아래에 있는 코드는 포함되지 않습니다.
extension.ts 파일 하단의 export function deactivate() { } 줄 바로 위에 다음 메서드를 추가합니다.
function getVisibleCodeWithLineNumbers(textEditor: vscode.TextEditor) {
  // get the position of the first and last visible lines
  let currentLine = textEditor.visibleRanges[0].start.line;
  const endLine = textEditor.visibleRanges[0].end.line;

  let code = '';

  // get the text from the line at the current position.
  // The line number is 0-based, so we add 1 to it to make it 1-based.
  while (currentLine < endLine) {
    code += `${currentLine + 1}: ${textEditor.document.lineAt(currentLine).text} \n`;
    // move to the next line position
    currentLine++;
  }
  return code;
}
이 코드는 TextEditor의 visibleRanges 속성을 사용하여 현재 편집기에서 보이는 줄의 위치를 가져옵니다. 그런 다음 첫 번째 줄 위치에서 시작하여 마지막 줄 위치로 이동하면서 각 줄의 코드를 줄 번호와 함께 문자열에 추가합니다. 마지막으로 줄 번호가 있는 보기 가능한 모든 코드가 포함된 문자열을 반환합니다.
이제 code-tutor.annotate 명령에서 이 메서드를 호출할 수 있습니다. 명령 구현을 다음과 같이 수정합니다.
const disposable = vscode.commands.registerTextEditorCommand(
  'code-tutor.annotate',
  async (textEditor: vscode.TextEditor) => {
    // Get the code with line numbers from the current editor
    const codeWithLineNumbers = getVisibleCodeWithLineNumbers(textEditor);
  }
);
2단계: 언어 모델 API에 코드 및 프롬프트 보내기
다음 단계는 GitHub Copilot 언어 모델을 호출하고 사용자 코드를 보내 주석을 생성하도록 지시하는 것입니다.
이를 위해 먼저 사용할 채팅 모델을 지정해야 합니다. 우리는 현재 구축 중인 상호 작용 유형에 대해 빠르고 성능이 뛰어난 모델이기 때문에 4o를 선택합니다.
const disposable = vscode.commands.registerTextEditorCommand(
  'code-tutor.annotate',
  async (textEditor: vscode.TextEditor) => {
    // Get the code with line numbers from the current editor
    const codeWithLineNumbers = getVisibleCodeWithLineNumbers(textEditor);

    // select the 4o chat model
    let [model] = await vscode.lm.selectChatModels({
      vendor: 'copilot',
      family: 'gpt-4o'
    });
  }
);
주석을 생성하도록 모델에 지시하고 응답 형식을 지정하는 지침, 즉 "프롬프트"가 필요합니다. 파일 상단의 가져오기 바로 아래에 다음 코드를 추가합니다.
const ANNOTATION_PROMPT = `You are a code tutor who helps students learn how to write better code. Your job is to evaluate a block of code that the user gives you and then annotate any lines that could be improved with a brief suggestion and the reason why you are making that suggestion. Only make suggestions when you feel the severity is enough that it will impact the readability and maintainability of the code. Be friendly with your suggestions and remember that these are students so they need gentle guidance. Format each suggestion as a single JSON object. It is not necessary to wrap your response in triple backticks. Here is an example of what your response should look like:

{ "line": 1, "suggestion": "I think you should use a for loop instead of a while loop. A for loop is more concise and easier to read." }{ "line": 12, "suggestion": "I think you should use a for loop instead of a while loop. A for loop is more concise and easier to read." }
`;
이것은 언어 모델에 주석을 생성하는 방법을 지시하는 특별한 프롬프트입니다. 또한 모델이 응답을 형식화하는 방법에 대한 예제가 포함되어 있습니다. 이러한 예제("멀티샷"이라고도 함)는 구문 분석하여 주석으로 표시할 수 있도록 응답 형식을 정의할 수 있게 해줍니다.
메시지는 배열로 모델에 전달합니다. 이 배열에는 원하는 만큼 메시지를 포함할 수 있습니다. 이 경우 프롬프트와 줄 번호가 있는 사용자 코드가 포함됩니다.
const disposable = vscode.commands.registerTextEditorCommand(
  'code-tutor.annotate',
  async (textEditor: vscode.TextEditor) => {
    // Get the code with line numbers from the current editor
    const codeWithLineNumbers = getVisibleCodeWithLineNumbers(textEditor);

    // select the 4o chat model
    let [model] = await vscode.lm.selectChatModels({
      vendor: 'copilot',
      family: 'gpt-4o'
    });

    // init the chat message
    const messages = [
      vscode.LanguageModelChatMessage.User(ANNOTATION_PROMPT),
      vscode.LanguageModelChatMessage.User(codeWithLineNumbers)
    ];
  }
);
메시지를 모델에 보내려면 먼저 선택한 모델을 사용할 수 있는지 확인해야 합니다. 이는 확장이 준비되지 않았거나 사용자가 GitHub Copilot에 로그인하지 않은 경우를 처리합니다. 그런 다음 모델에 메시지를 보냅니다.
const disposable = vscode.commands.registerTextEditorCommand(
  'code-tutor.annotate',
  async (textEditor: vscode.TextEditor) => {
    // Get the code with line numbers from the current editor
    const codeWithLineNumbers = getVisibleCodeWithLineNumbers(textEditor);

    // select the 4o chat model
    let [model] = await vscode.lm.selectChatModels({
      vendor: 'copilot',
      family: 'gpt-4o'
    });

    // init the chat message
    const messages = [
      vscode.LanguageModelChatMessage.User(ANNOTATION_PROMPT),
      vscode.LanguageModelChatMessage.User(codeWithLineNumbers)
    ];

    // make sure the model is available
    if (model) {
      // send the messages array to the model and get the response
      let chatResponse = await model.sendRequest(
        messages,
        {},
        new vscode.CancellationTokenSource().token
      );

      // handle chat response
      await parseChatResponse(chatResponse, textEditor);
    }
  }
);
채팅 응답은 조각으로 들어옵니다. 이러한 조각은 일반적으로 단일 단어를 포함하지만 때로는 구두점만 포함하기도 합니다. 응답이 스트리밍되는 동안 주석을 표시하려면 완료된 주석을 얻을 때까지 기다립니다. 모델이 응답을 반환하도록 지시한 방식 때문에 닫는 }를 볼 때 완료된 주석이라는 것을 알 수 있습니다. 그런 다음 주석을 구문 분석하고 편집기에 표시할 수 있습니다.
extension.ts 파일의 getVisibleCodeWithLineNumbers 메서드 위에 누락된 parseChatResponse 함수를 추가합니다.
async function parseChatResponse(
  chatResponse: vscode.LanguageModelChatResponse,
  textEditor: vscode.TextEditor
) {
  let accumulatedResponse = '';

  for await (const fragment of chatResponse.text) {
    accumulatedResponse += fragment;

    // if the fragment is a }, we can try to parse the whole line
    if (fragment.includes('}')) {
      try {
        const annotation = JSON.parse(accumulatedResponse);
        applyDecoration(textEditor, annotation.line, annotation.suggestion);
        // reset the accumulator for the next line
        accumulatedResponse = '';
      } catch (e) {
        // do nothing
      }
    }
  }
}
주석을 실제로 표시하기 위한 마지막 메서드가 필요합니다. VS Code는 이를 "장식"이라고 부릅니다. extension.ts 파일의 parseChatResponse 메서드 위에 다음 메서드를 추가합니다.
function applyDecoration(editor: vscode.TextEditor, line: number, suggestion: string) {
  const decorationType = vscode.window.createTextEditorDecorationType({
    after: {
      contentText: ` ${suggestion.substring(0, 25) + '...'}`,
      color: 'grey'
    }
  });

  // get the end of the line with the specified line number
  const lineLength = editor.document.lineAt(line - 1).text.length;
  const range = new vscode.Range(
    new vscode.Position(line - 1, lineLength),
    new vscode.Position(line - 1, lineLength)
  );

  const decoration = { range: range, hoverMessage: suggestion };

  vscode.window.activeTextEditor?.setDecorations(decorationType, [decoration]);
}
이 메서드는 모델에서 구문 분석된 주석을 가져와 장식을 만드는 데 사용합니다. 이렇게 하려면 먼저 장식의 모양을 지정하는 TextEditorDecorationType을 만듭니다. 이 경우 회색 주석을 추가하고 25자로 자릅니다. 사용자가 메시지를 호버하면 전체 메시지가 표시됩니다.
그런 다음 장식이 나타날 위치를 설정합니다. 주석에 지정된 줄 번호와 줄 끝에 있어야 합니다.
마지막으로 활성 텍스트 편집기에 장식을 설정하여 편집기에 주석이 나타나도록 합니다.
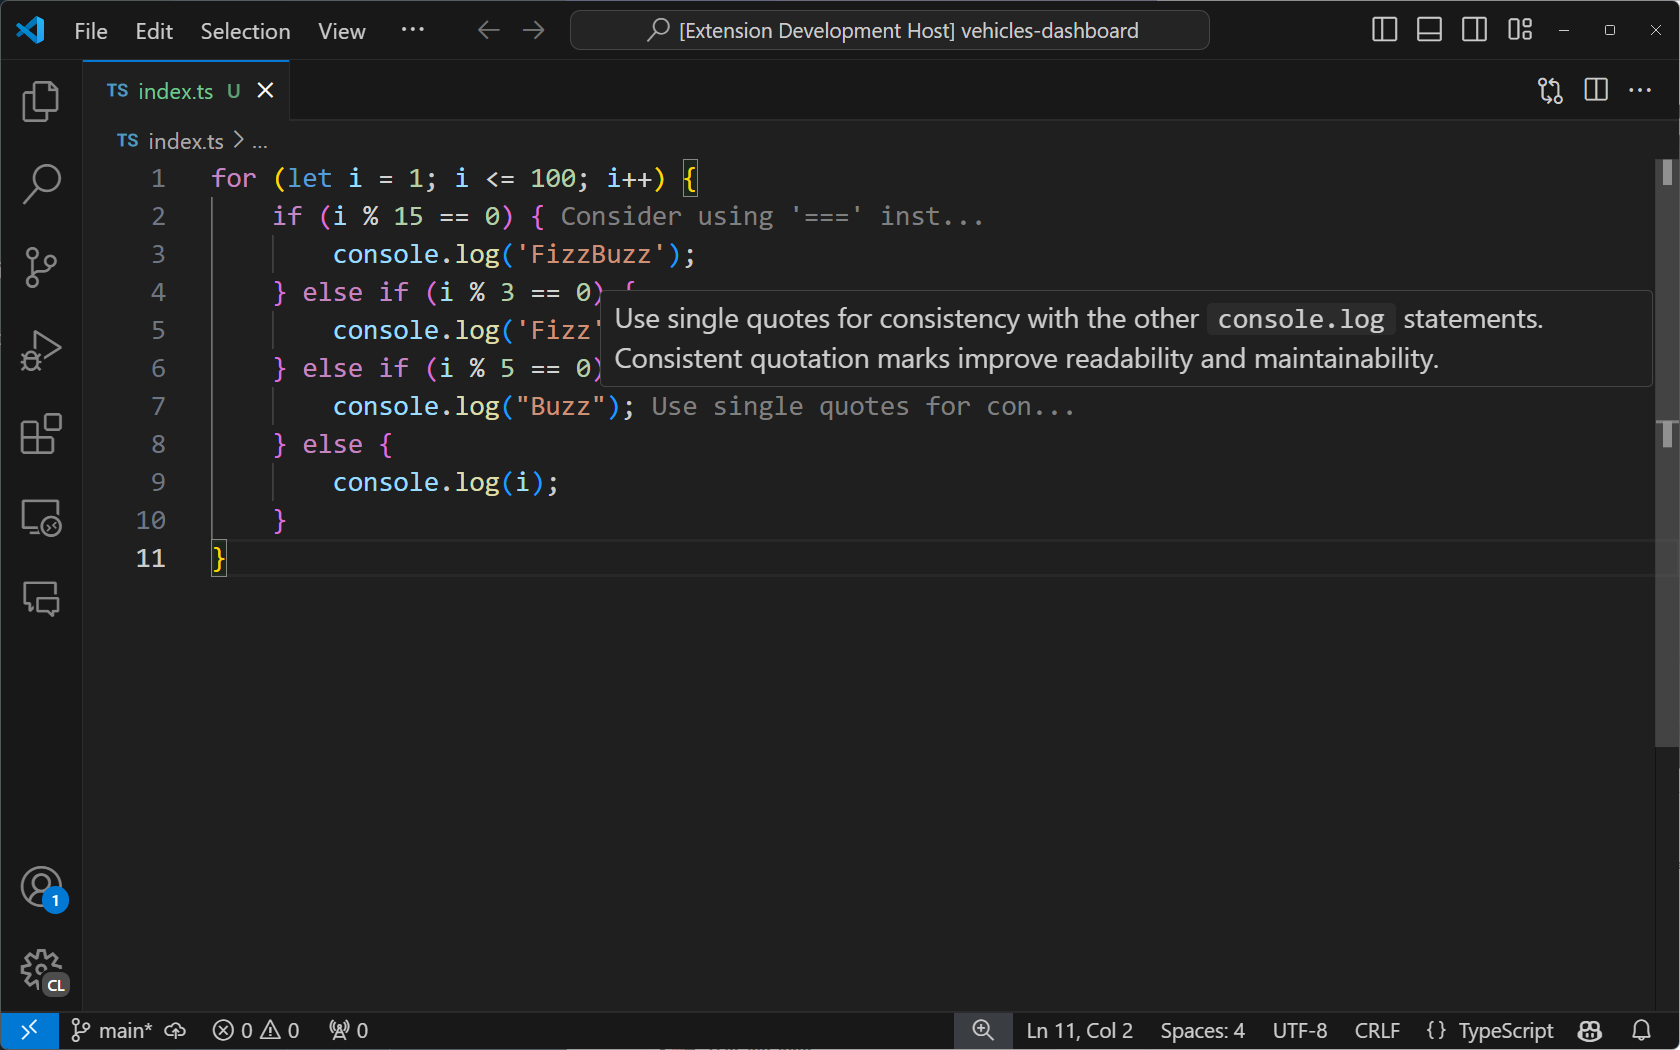
확장이 여전히 실행 중이면 디버그 바의 녹색 화살표를 선택하여 다시 시작합니다. 디버그 세션을 닫은 경우 F5 키를 눌러 확장을 실행합니다. 새로 열린 VS Code 창 인스턴스에서 코드 파일을 엽니다. 명령 팔레트에서 "Toggle Tutor Annotations"를 선택하면 편집기에 코드 주석이 표시되어야 합니다.
편집기 제목 표시줄에 버튼 추가
명령 팔레트 이외의 장소에서 명령을 호출하도록 할 수 있습니다. 이 경우 현재 탭 상단에 버튼을 추가하여 사용자가 쉽게 주석을 전환할 수 있습니다.
이렇게 하려면 package.json의 "contributes" 부분을 다음과 같이 수정합니다.
"contributes": {
  "commands": [
    {
      "command": "code-tutor.annotate",
      "title": "Toggle Tutor Annotations",
      "icon": "$(comment)"
    }
  ],
  "menus": {
    "editor/title": [
      {
        "command": "code-tutor.annotate",
        "group": "navigation"
      }
    ]
  }
}
이렇게 하면 편집기 제목 표시줄의 탐색 영역(오른쪽)에 버튼이 나타납니다. "icon"은 제품 아이콘 참조에서 가져옵니다.
녹색 화살표로 확장을 다시 시작하거나 확장이 이미 실행 중이 아닌 경우 F5 키를 누릅니다. 이제 "Toggle Tutor Annotations" 명령을 트리거하는 주석 아이콘이 표시됩니다.
다음 단계
이 튜토리얼에서는 언어 모델 API를 사용하여 편집기에 AI를 통합하는 VS Code 확장을 만드는 방법을 배웠습니다. VS Code 확장 API를 사용하여 현재 탭의 코드를 가져오고, 사용자 지정 프롬프트와 함께 모델에 보내고, 마지막으로 장식을 사용하여 모델 결과를 편집기에 직접 구문 분석하고 표시했습니다.
다음으로, 코드 튜터 확장을 확장하여 채팅 참가자를 포함하여 사용자가 GitHub Copilot 채팅 인터페이스를 통해 확장과 직접 상호 작용할 수 있도록 할 수 있습니다. 또한 VS Code의 모든 API를 탐색하여 편집기에서 사용자 지정 AI 환경을 구축하는 새로운 방법을 탐색할 수 있습니다.
이 튜토리얼의 전체 소스 코드는 vscode-extensions-sample 리포지토리에서 찾을 수 있습니다.